

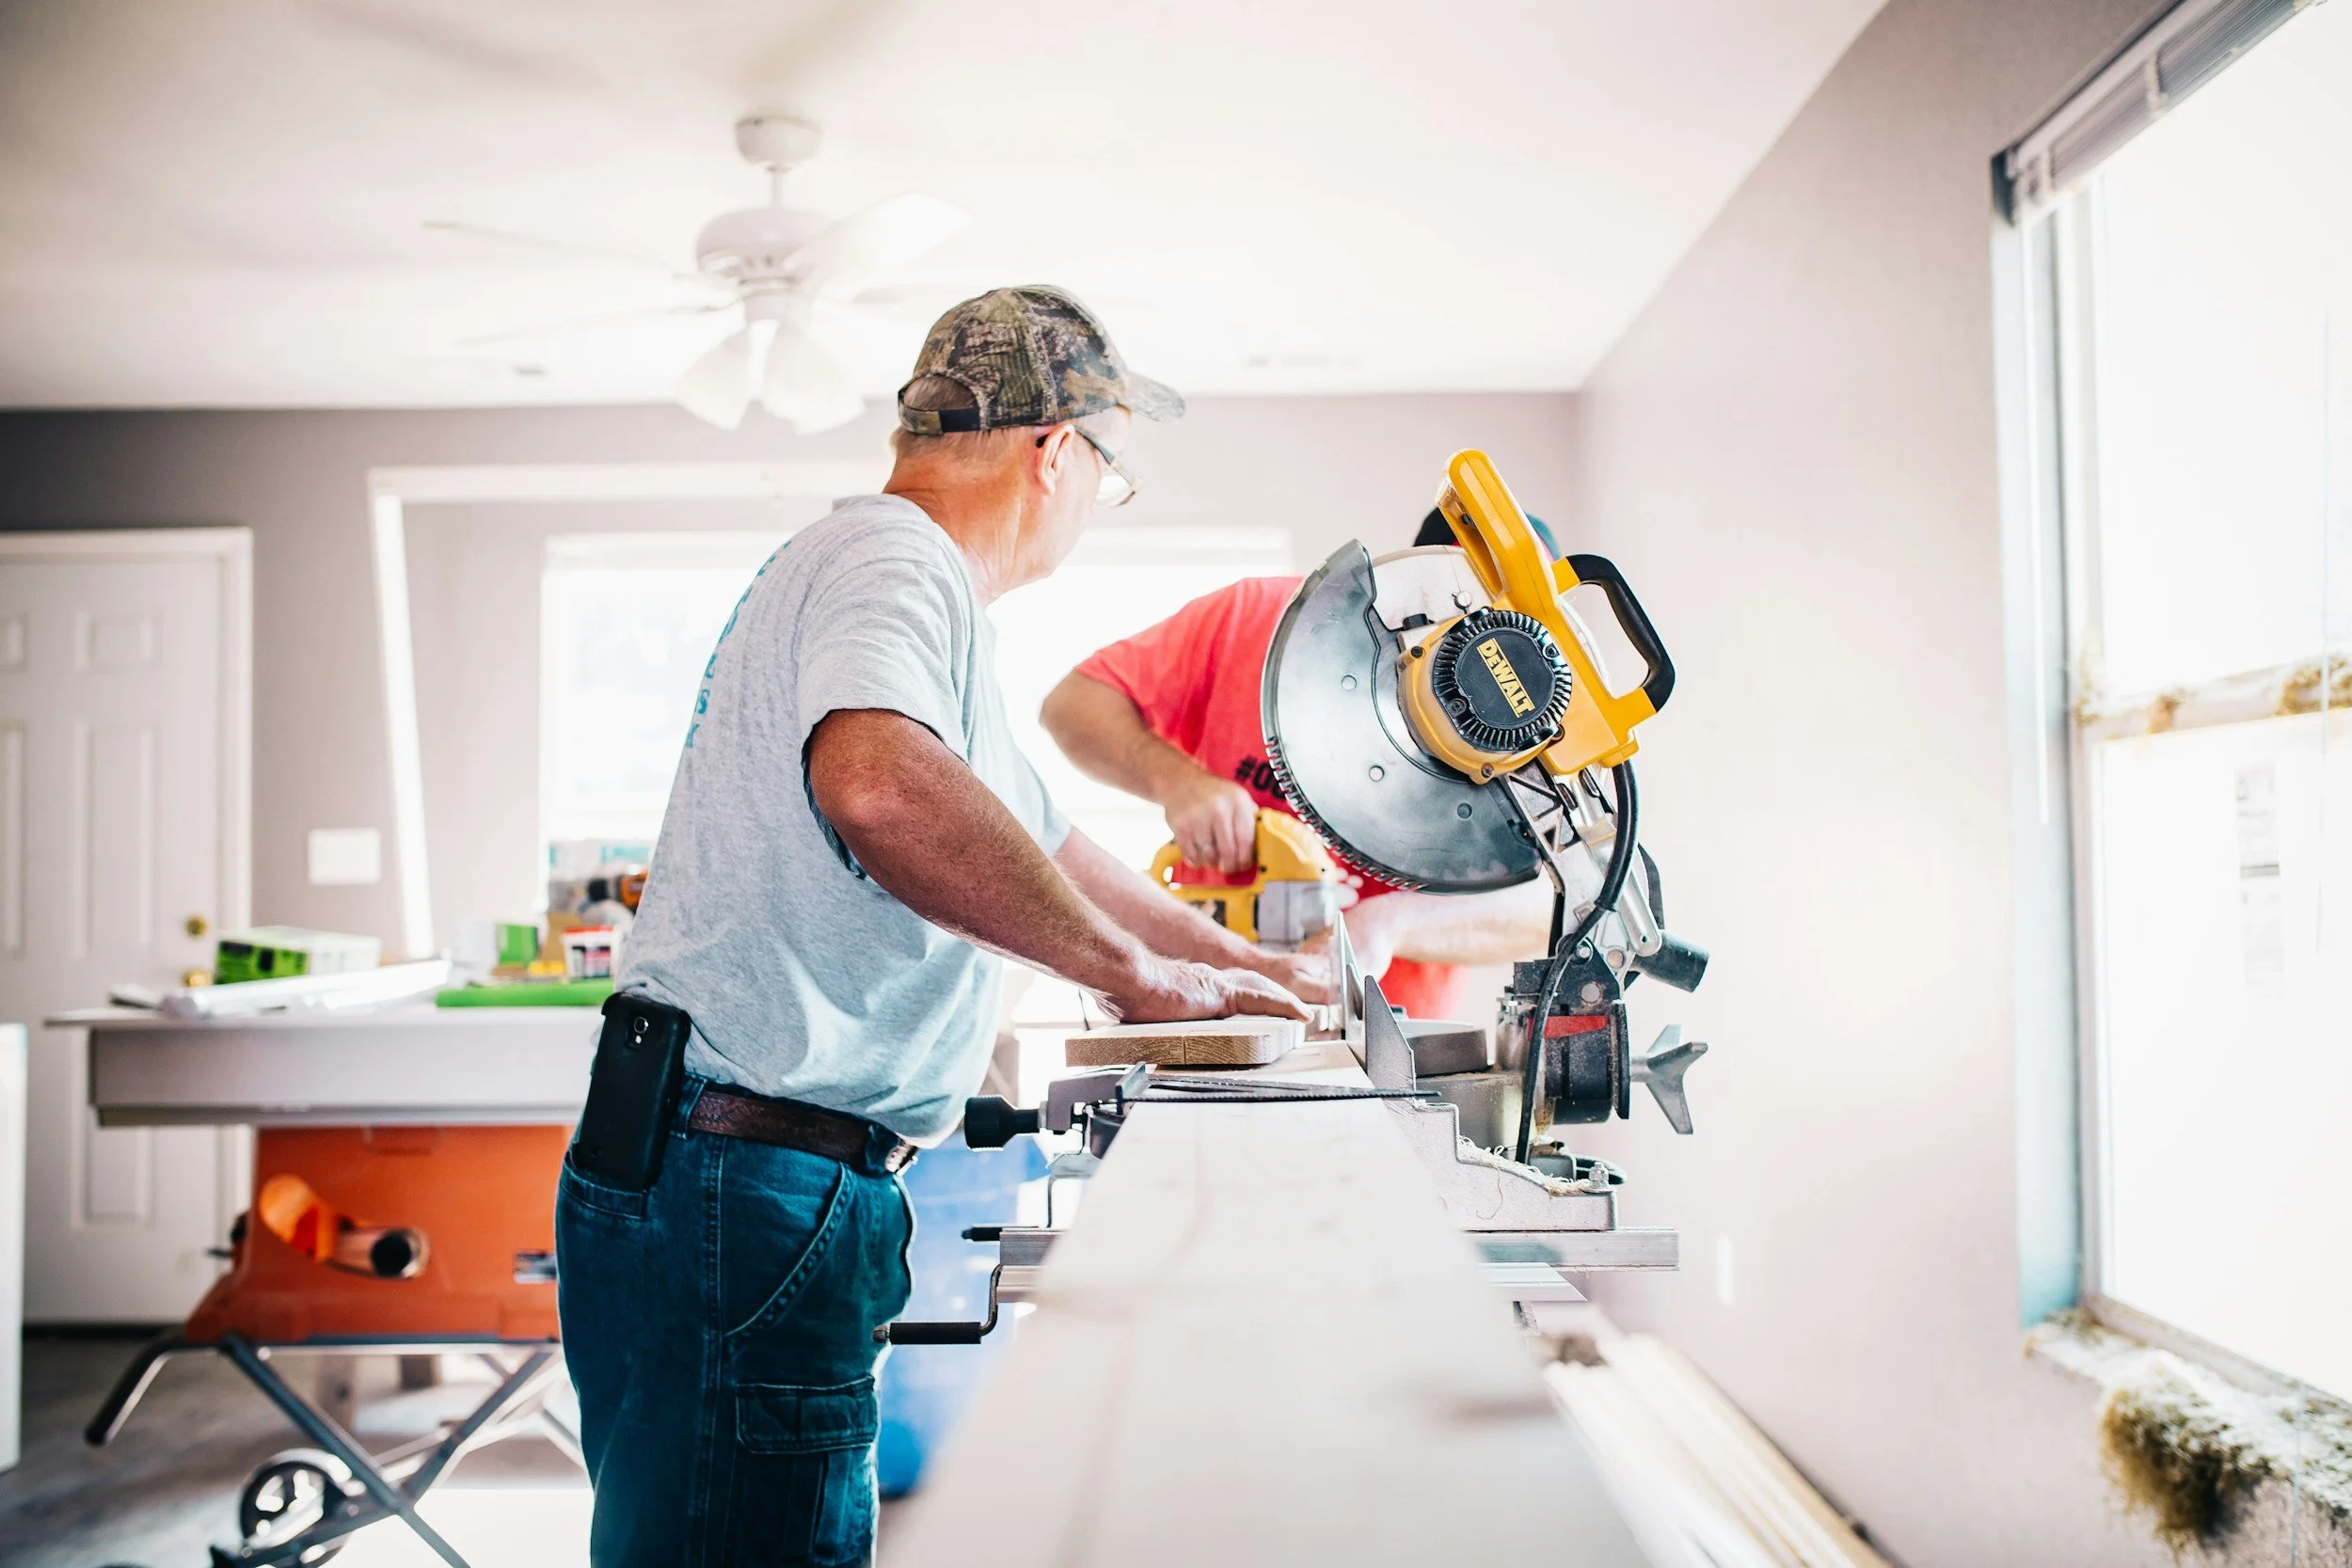
8 Common Energy Efficiency DIY Projects Gone Wrong
Do your homework before you do your home work.
There are many energy efficiency projects that you can easily DIY, but do some research (or ask us!) to prevent costly mistakes.
DIY Energy Efficiency Fails
1. The Wrong Seal on Ducts
The Mistake: Using silver, fabric-backed "duct tape" to seal the seams of HVAC ducts in the attic or crawl space.
The Reality: Standard duct tape is not designed for the extreme temperatures of attics. It dries out, cracks, and fails within a year, leaving you with massive air and energy loss worse than before.
The Pro Fix: Mastic sealant—a thick, gooey, paint-on material—is the best solution. Larger holes and gaps can be covered by cutting a patch or with fiberglass mesh tape, sealed with mastic. The Department of Energy has a job aid with more information about approved methods of sealing ductwork.
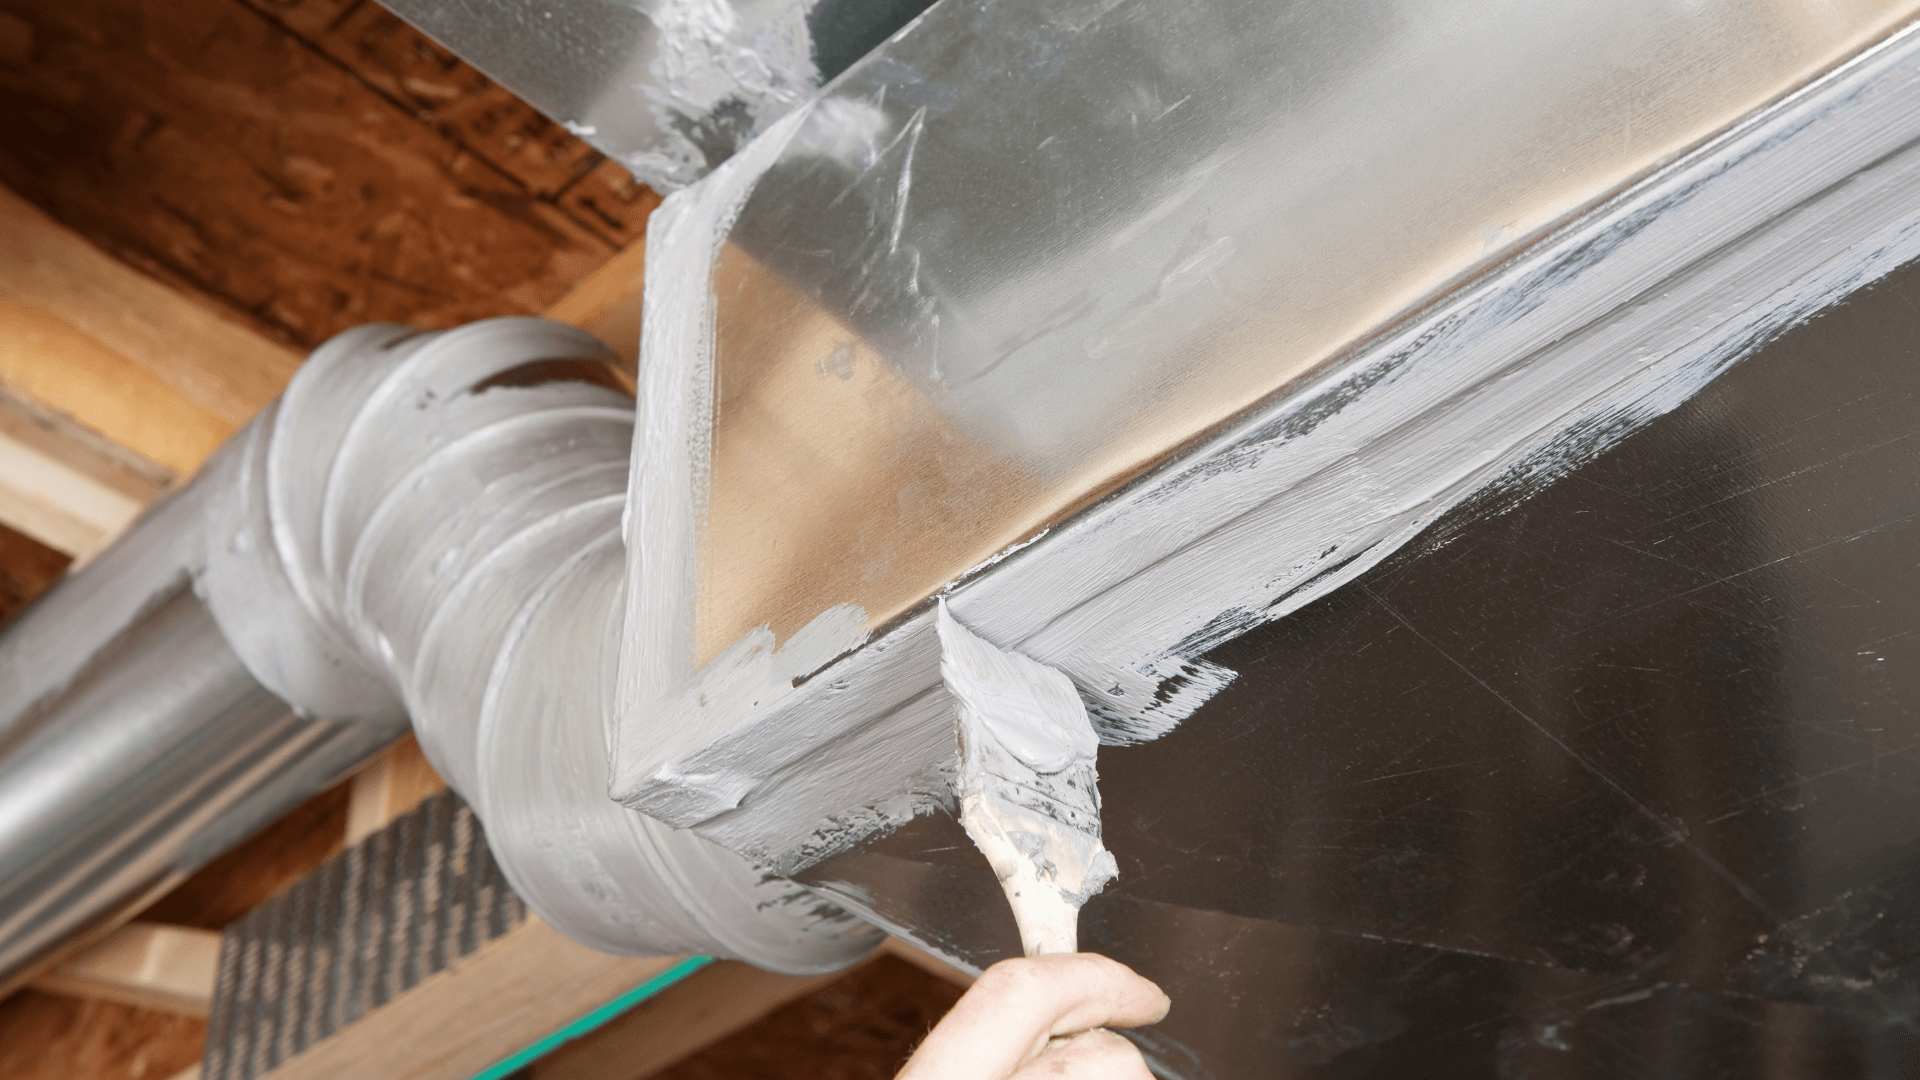
All seams and connections should be sealed with mastic. Application should be decently thick, and if applied correctly the end result will look a little messy, but that’s how you get a great seal. Larger gaps or holes should be covered with a patch or fiberglass mesh tape and mastic.
2. Sealing the Attic Hatch with only Fiberglass Batt
The Mistake: Laying a batt of fiberglass insulation over the attic hatch or pull-down stairs to "stop heat loss."
The Reality: Fiberglass is an air filter, not an air barrier. It does nothing to stop the flow of conditioned air. This lack of an air seal makes the hatch the single largest leak in the ceiling plane. Plus the batt will shift position and leave uninsulated areas for rapid heat transfer.
The Pro Fix: Installing a rigid foam insulated hatch cover or box will properly insulate the hatch. Generally speaking this can be 3 or 4 pieces of foam attached to the hatch cover. Finish with weatherstripping to create an airtight seal. Follow this step-by-step guide to dam, seal, and insulate your attic hatch cover.

Attic hatch covers, also known as hatch lids or scuttle covers, are a big source of air leakage and heat transfer. Weatherstripping and rigid foam board are an easy and affordable DIY pro fix.
3. Blocking Essential Combustion Air Vents
The Mistake: Sealing or blocking small vents (often louvered) in the basement or utility closet near a gas furnace or water heater.
The Reality: These vents provide the combustion air necessary for the safe, complete burning of natural gas or propane. Blocking them can lead to incomplete combustion and, critically, increase the risk of dangerous Carbon Monoxide (CO) back-drafting.
The Pro Fix: Using state of the art equipment, Rappid Energy can perform a Worst-Case Depressurization Test to ensure the home's mechanical systems have safe combustion air flow.
4. Ignoring Air Sealing Before Insulating
The Mistake: Thinking insulation is a substitute for air sealing. Homeowners will install thick new insulation in the attic without sealing all the small air gaps first.
The Reality: Insulation resists heat transfer, but it does little to stop air flow. Air leaks—around vents, electrical wires, and ceiling fixtures—will bypass the insulation and carry your conditioned air right out of the house. It's like pouring coffee into a Styrofoam cup that has a hole in the bottom! Moisture from inside the home can pass through these gaps and get trapped under the insulation layer creating an environment for mold growth.
The Pro Fix: Use caulk and expanding foam sealant to seal every gap, crack, and penetration before you put down or blow in any new insulation. When sealing around heat sources—including electrical wiring, recessed lights, and flue vents—ensure you only use fire-safe and code-compliant products.
5. Skipping HVAC Filter Changes
The Mistake: Forgetting about your furnace or air conditioner air filter for months on end.
The Reality: A dirty, clogged filter dramatically reduces airflow, forcing your HVAC system to work much harder and consume significantly more energy to move the same amount of air. It can also lead to system damage over time.
The Pro Fix: Check or replace your filter every 1-3 months. It’s one of the easiest, cheapest, and most effective efficiency steps you can take. If you’ve got room to store a case, purchasing these filters in bulk usually results in significant cost savings and fewer trips to the store.

Change your air filter once every 4-6 weeks. Change more frequently in summer and winter months when the system runs more; less often in spring and fall when the system runs less.
6. Over-Insulating Wet Crawl Spaces
The Mistake: Adding fiberglass insulation under the floor in a perpetually damp, vented crawl space.
The Reality: Fiberglass acts like a wick or a sponge. In humid South Carolina climates, it soaks up moisture from the crawl space air, loses R-value, and traps moisture against the floor joists, accelerating mold growth and wood rot.
The Pro Fix: Crawl space encapsulation—sealing the ground and walls, properly conditioning the air, and applying spray foam insulation.
7. Compressing Insulation (Especially in Walls)
The Mistake: Over-stuffing fiberglass batt insulation into a cavity, thinking "more is better" or cramming it around pipes or wires.
The Reality: Fiberglass insulation works by trapping tiny pockets of air. When you compress it, you squeeze those air pockets out, reducing its effective R-value (its resistance to heat flow). You've spent money on high-R-value material and effectively downgraded it.
The Pro Fix: Install batt insulation so it completely fills the space without being compressed. Always cut it slightly larger than the space and let it spring into place gently.
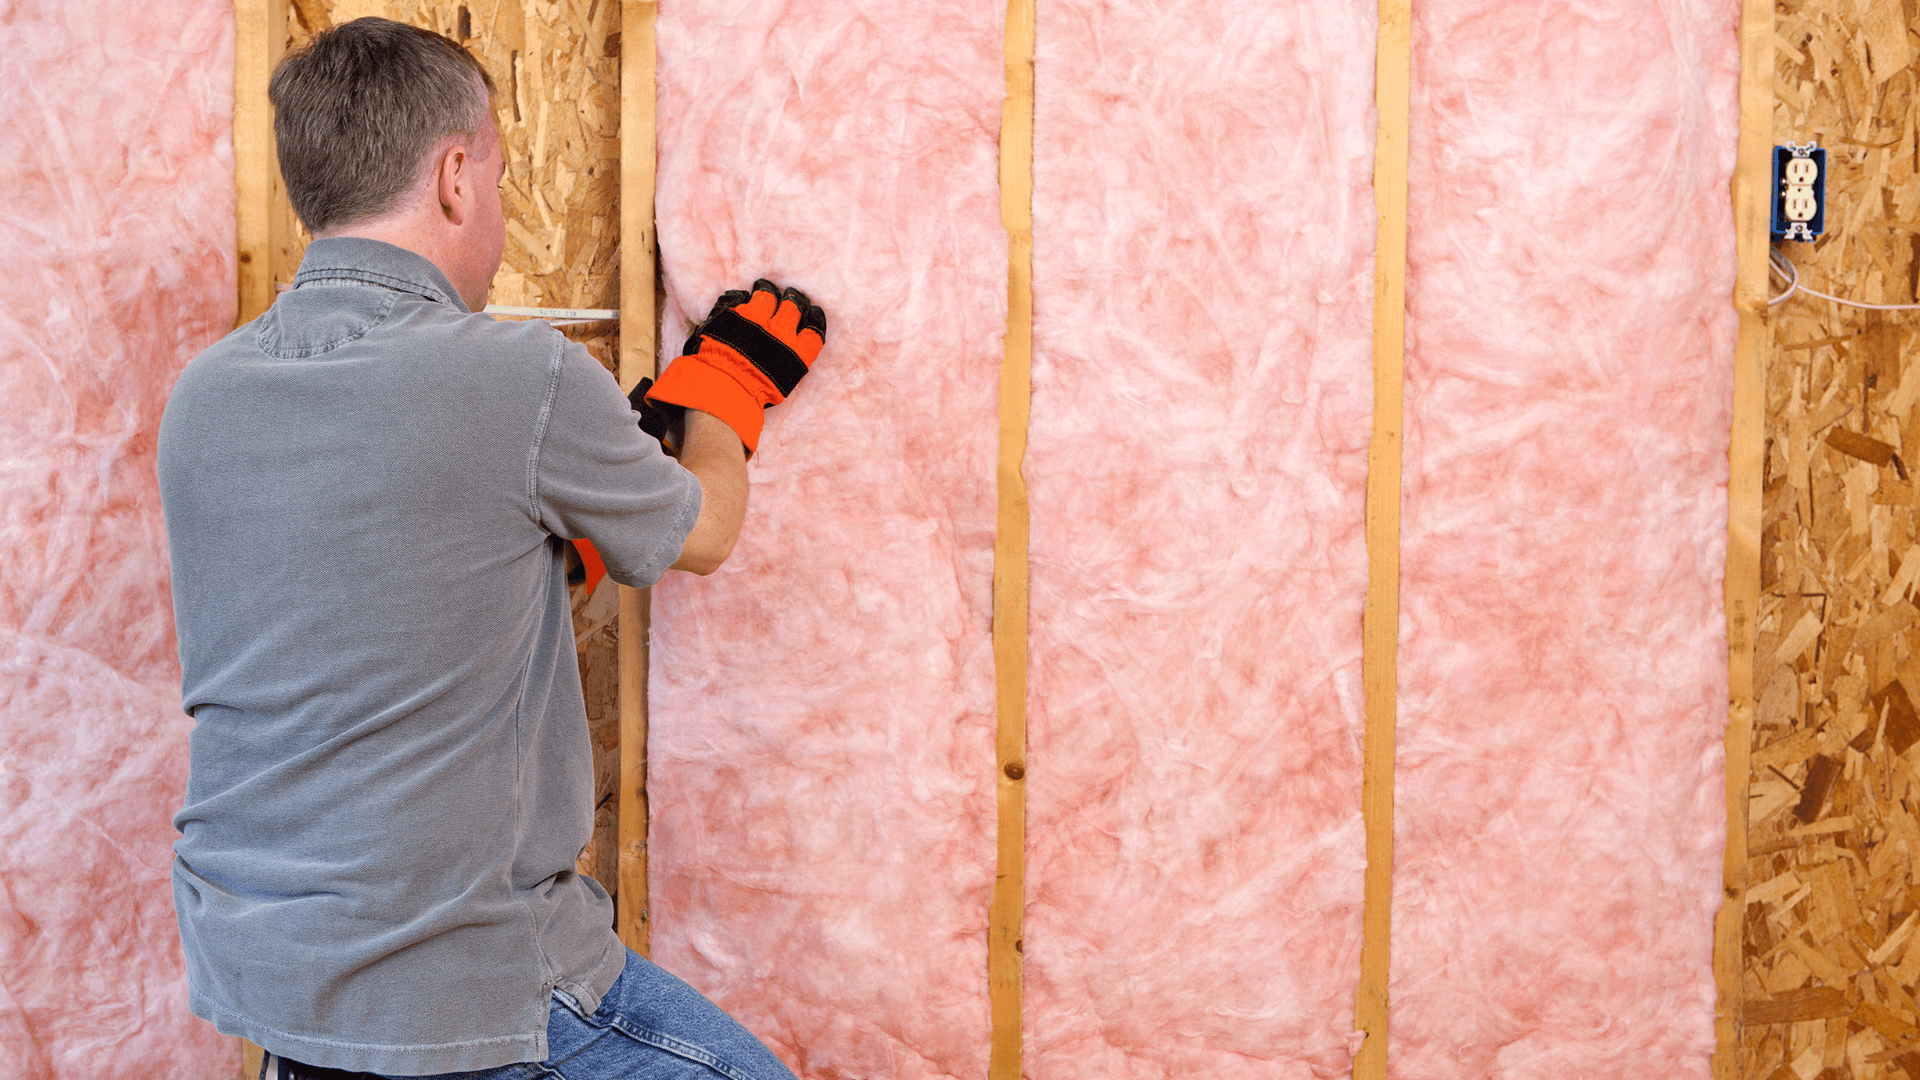
Installation of fiberglass insulation without gaps or compression.
8. Exhaust Fan Misdirection
The Mistake: Routing a bathroom or kitchen exhaust fan duct into the attic or crawl space instead of outside.
The Reality: This is highly dangerous. You are dumping large amounts of hot, humid air directly into an unconditioned space, guaranteeing mold and condensation on the roof decking and insulation.
The Pro Fix: Ensuring all moist air exhausts are routed through smooth, rigid ductwork to the exterior of the house and sealed properly at the penetration point.
Fix It Once, Fix It Right
Ultimately, every successful energy efficiency project starts with knowledge. While the mistakes listed here might seem daunting, they are all entirely fixable. Remember that the ultimate goal is not just to do the work, but to do the right work. An unsuccessful DIY attempt is more than just frustrating; it's a hidden cost that shows up every month on your utility bill. Don't let your good intentions pave the road to high bills. Take a step back, assess your leaks, use fire-rated materials where needed, and be precise with your insulation. If the job moves past a simple fix, know that Rappid Energy is always here to provide the expertise and professional solutions you need to ensure true, long-lasting energy savings.